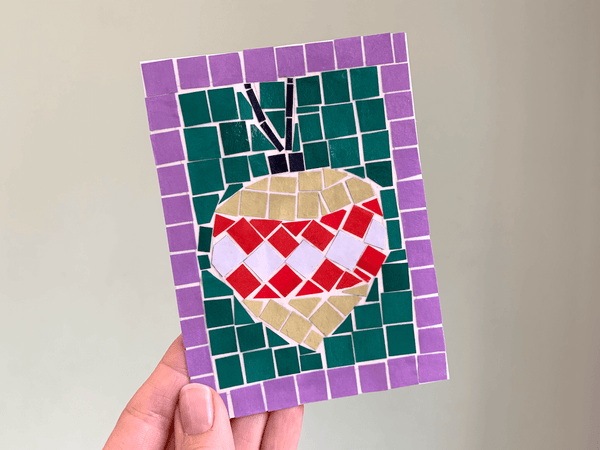
Create a paper mosaic
Materials needed for your mosaic:
- Thick cardboard e.g. old cereal box
- Scissors
- Pencil
- Scraps of coloured paper e.g. old magazines or leaflets
- PVA glue
- Paintbrush
Instructions:
- Start by cutting the cardboard to the size you would like to make your mosaic.
- Have a think about your design and roughly sketch it onto the cardboard. You’ll want to keep the design pretty simple. However, you might like to look at some of The Hackney Mosaic Project’s designs for inspiration.

- Look through the coloured paper and collect rough sections that are the colours you need for your design.
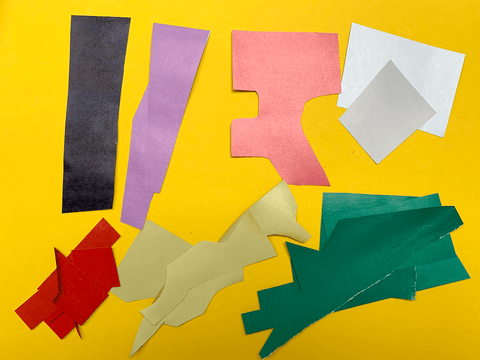
- Cut each section into lots of small coloured squares, keeping each colour separated for simplicity.

- Choose one area of your design to begin. Cover a small area with PVA glue and carefully fill the section with as many complete squares as will fit, leaving a small gap between each one. You'll find that you can slide the squares slightly while the glue is still wet which will help you position them.

- To complete the area, you will need to trim some more coloured squares so that they fill the gaps you have remaining.
- Repeat steps 5 and 6 with each area of your design in turn.
- Once you've placed all your paper tiles leave the mosaic to dry completely.
- Now that all the tiles are stuck firmly apply a layer of PVA glue all over the design to prevent any of your paper tiles peeling off and to give a slightly shiny finish.

Ways to use your finished mosaic:
Perhaps you could use it as a card or gift tag? Or maybe frame it and give it as a gift?
We'd love to see a photo of the your finished project!