Quick craft activity: Make tissue paper flowers

We love getting crafty with the kids and when we can link it to a book we’ve been enjoying it’s even better. Back in December 2018 we sent our subscribers a simply magnificent book by Bren MacDibble called How to Bee. Set in a future where there are no bees and children on fruit farms work to pollenate the trees it’s an adventurous and thought-provoking read for children 8+.
The activity pack we produced contained instructions for making these beautiful tissue paper flowers and we thought the summer holidays were a great chance to share them again. They can be a bit fiddly, so for very young children you may want to try something like this instead.
Make two tissue paper flowers
You will need:
- Two large squares of tissue paper, ideally contrasting colours
- A ruler
- Sharp scissors (please be careful!)
- A stapler
Method:
-
Lay out your first sheet of tissue paper and fold it into thirds, using your ruler to help if necessary. Cut down the folds so that you are left with three strips.
-
Lay the three strips on top of each other and fold into thirds. Cut down the folds so that you are left with 9 squares of tissue paper, all roughly the same size.

-
Repeat steps 1 and 2 with the second sheet of tissue paper.
-
Make a stack of 9 sheets of paper, organised so that 6 layers of one colour are on the bottom (they will be your petals) and 3 layers of the other colour are at the top (they will be the centre of the flower).
-
Fold the paper like an accordion.

- Separate the stack into the two different colours and refold. Use your scissors to cut a rounded shape at each end of the accordion that will be the petals. For the centre of the flower, cut each end of the accordion into lots of thin strips, like a fringe.

- Open up each accordion and lay the centre back on top of the petals, before refolding again.

- Staple the folded stack in the middle.

- Open the accordion to a slight bow shape and then, holding the staple, start to very gently bringing each layer of the fringed petals on one side upwards. You will need to be careful not to rip any. Move on to fluffing up the main petals too and gradually bringing them into the shape of half the flower.

-
Repeat step 9 with the other side of the flower, trying to carefully interweave the petals where the two sides join.
-
Repeat steps 4-10 with the remaining paper to make your second flower.
Now you know the basic method, you may like to experiment with different colour combinations, adjusting the shape and size of the different petals or perhaps even trying to add leaves!
We would love to see your creations! Tag us on Instagram, Facebook or Twitter.
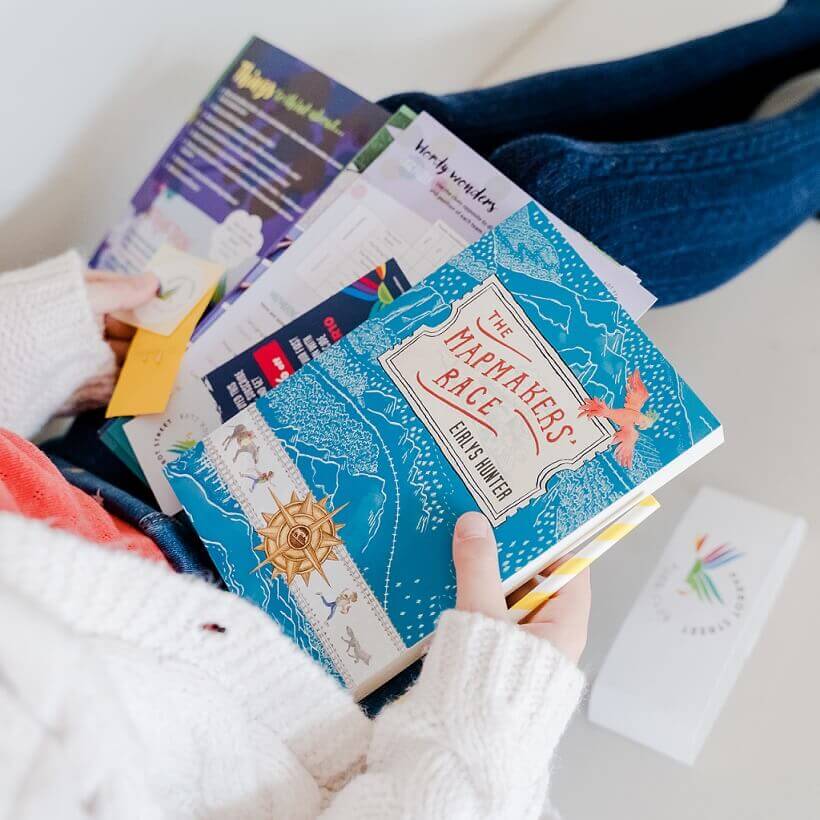
Parrot Street Book Club is a monthly book subscription for kids aged 5 to 11. Each monthly parcel includes a new chapter book to keep and a fun-filled activity pack created to accompany it. Find out more and subcsribe here.
JOIN OUR EMAIL LIST
Children's book news straight to your inbox
We love sharing product updates, book recommendations, children's activity ideas and special offers via email.